Creating a Realtime PWA Using Angular and Firebase (Part 2)
In part one, we built an application using Angular, Firebase, and Cloudinary. Now we’ll turn it into a proper progressive web application with offline availability and installability.
Access the repository
You can grab the code from GitHub.
If you’re new to Progressive Web Applications (or just curious), I’ve self-published a book on the topic that you can purchase online.
Enabling PWA support
One of the core promises of PWAs is that they work without a network connection. The service worker API and the cache interface make this possible.
There are several approaches we could take, but Angular already has PWA capabilities baked in. We just need to add the right plugin.
Angular and PWA
Since we’re using the Angular CLI, adding PWA support is as simple as running ng add @angular/pwa. Let’s quickly review what that does.
The
ng addcommand adds an npm package to an Angular project and configures the project by making necessary changes (for example, changing the schematic).
Adding @angular/pwa means @angular/service-worker also gets installed automatically. The following gets added to app.module.ts:
import { ServiceWorkerModule } from '@angular/service-worker';
// removed for brevity
@NgModule({
  imports: [
    ServiceWorkerModule.register('ngsw-worker.js', { enabled: environment.production })
  ],
})
You’ll also notice changes in index.html, with two new lines:
<link rel="manifest" href="manifest.json" />
<meta name="theme-color" content="#1976d2" />
The first line is the manifest file. Think of it as metadata about the PWA itself: the app’s name, its start_url, and other details used when the app gets installed on a mobile device.
The theme-colour gives the application a colour on mobile devices, making it easy to distinguish. It’s good UX practice too.
 Image taken from Google Developers
A src/assets/icons folder also gets created with some default icons for the app. Swap these out with your own.
And a service worker configuration file appears: ngsw-config.json. This is where we customise the service worker. Angular builds the actual service worker file during a production build and places it in the dist folder.
ngsw-config.json
Let’s look at ngsw-config.json more closely. Two things can be configured here: assetGroups and dataGroups. The first (as the name suggests) controls how the service worker manages assets like icons, images, and other static files (local or remote). These assets are versioned.
dataGroups is different. It stores responses from API requests. Because of their dynamic nature, these aren’t versioned alongside the application. Caching follows a policy you can configure manually.
Given our setup, we won’t need dataGroups. We only need assetGroups, because we have static assets (like fonts) that must be cached for offline use.
Let’s also talk about installMode and updateMode, which can each be set to lazy or prefetch.
installMode controls how resources in a given group get cached. updateMode determines how already-cached resources get updated. Both accept lazy and prefetch.
prefetch grabs all resources while caching the application. lazy only caches a resource when it’s actually requested. (Think of prefetch as eager caching, and lazy as on-demand.) For updateMode, these values work exactly the same way.
To learn more about
ngsw-config.json, check the Angular documentation.
Here’s our final ngsw-config.json. We’re caching all static resources plus the assets that make up our application. Notice the three URL patterns that ensure fonts and Cloudinary images also get cached.
{
  "index": "/index.html",
  "assetGroups": [
    {
      "name": "app",
      "installMode": "prefetch",
      "resources": {
        "files": ["/favicon.ico", "/index.html", "/*.css", "/*.js"]
      }
    },
    {
      "name": "assets",
      "installMode": "lazy",
      "updateMode": "prefetch",
      "resources": {
        "files": ["/assets/**"],
        "urls": [
          "https://fonts.googleapis.com/**",
          "https://fonts.gstatic.com/**",
          "https://res.cloudinary.com/**"
        ]
      }
    }
  ]
}
We are offline. What now?
With the service worker sorted, let’s add some application-level touches. It’d be great to show visual indicators when the app is offline, and we should handle photo uploads differently in that state.
Here’s our approach: users can still take pictures while offline. But instead of uploading immediately, we’ll show a button saying ‘use and upload later’ and store the base64-encoded image locally via localStorage. When the app goes back online, we’ll pull photos from localStorage, upload them, and delete the local copies. Full offline functionality.
The best way to manage online/offline state is through a service. Let’s create one: ng c s connection, and add this:
import { Injectable } from '@angular/core';
import { Observable, fromEvent, merge, of, BehaviorSubject } from 'rxjs';
import { mapTo } from 'rxjs/operators';

@Injectable({
  providedIn: 'root',
})
export class ConnectionService {
  private behaviorSubject$;
  behaviorSubjectObservable$: Observable<boolean>;

  constructor() {}

  start() {
    this.initSubjects();
    this.behaviorSubject$.next();
  }

  initSubjects() {
    this.behaviorSubject$ = new BehaviorSubject(true);
    this.behaviorSubjectObservable$ = merge(
      of(navigator.onLine),
      fromEvent(window, 'online').pipe(mapTo(true)),
      fromEvent(window, 'offline').pipe(mapTo(false))
    );
  }
}
The essential piece: we create an observable from the navigator.onLine value using the window online/offline event. If navigator.onLine is true, the observable emits true. If false, it emits false.
To understand why
BehaviourSubjectis used here, watch Dan Wahlin’s talk on Mastering the Subject: Communication Options in RxJS.
I struggled with this section at first because I was using a plain
Observable. The problem was that by the time components subscribed, they’d already missed the initial events, so they’d sit on whatever default value they had until another event fired. This meant a component could load and show the app as online even when it wasn’t. Switching toBehaviorSubjectfixed that.
Using the Service
With the service ready, let’s wire it up. First, some changes to the root component (app.component.html):
<div class="offline" *ngIf="!online">You are offline!</div>And in app.component.ts:
import { ConnectionService } from './connection.service';
// ... removed code for brevity
  constructor(
    private snackBar: MatSnackBar,
    private http: HttpClient,
    private db: AngularFirestore,
    private connection: ConnectionService,
    private router: Router) { }
ngOnInit() {
  this.connection.start();
  this.captureCollectionRef = this.db.collection<any>('captures');
  this.connection.behaviorSubjectObservable$.subscribe(online => {
    this.online = online;
    if (!this.online) {
      this.snackBar.open('You are offline!', 'OK', { duration: 5000 });
    } else {
      this.snackBar.dismiss();
    }
  });
}
This does two things: adds a banner at the top of the page showing the lack of connectivity, and pops up a snack bar notification.
Taking pictures while offline
A key piece of functionality: letting users take pictures offline, stashing those images, and uploading them when the app reconnects. This lives in the “capture” component:
<mat-card-actions *ngIf="actions">
  <button
    mat-raised-button
    color="primary"
    (click)="capture()"
    *ngIf="displayStream"
  >
    Capture Photo
  </button>
  <button
    mat-raised-button
    color="warn"
    (click)="retakePhoto()"
    *ngIf="!displayStream"
  >
    Retake Photo
  </button>
  <button
    mat-raised-button
    color="accent"
    (click)="usePhoto()"
    *ngIf="online && !displayStream"
  >
    Use photo
  </button>
  <button
    mat-raised-button
    color="accent"
    (click)="usePhoto()"
    *ngIf="!online && !displayStream"
  >
    Use photo and upload later
  </button>
</mat-card-actions>
To make this work, we use the connection service we built. Here’s the updated usePhoto() method:
public usePhoto() {
  const capture = this.canvas.nativeElement.toDataURL('image/jpeg');
  const timeTaken = new Date().getTime();
  if (!navigator.onLine) {
    localStorage.setItem(`capture@${timeTaken}`, capture);
    this.snackBar.open(`Since you're offline, your photo will be uploaded the next time you go online.`, 'Got it!');
  } else {
    this.http.post(`https://api.cloudinary.com/v1_1/${environment.cloudName}/image/upload`, {
      file: capture,
      upload_preset: environment.uploadPreset
    }).subscribe((response: any) => {
      if (response) {
        this.captureCollectionRef.add({
          public_id: response.public_id,
          uploaded: timeTaken
        }).then(() => {
          this.router.navigateByUrl('/');
        });
      }
    });
  }
}
If we’re offline, we drop the picture into localStorage keyed with capture@ followed by the capture time. This lets us do something neat: when we come back online, we iterate through localStorage items and upload them.
That functionality lives in app.component.ts since it should work application-wide. Here’s the final code:
ngOnInit() {
  this.connection.start();
  this.captureCollectionRef = this.db.collection<any>('captures');
  this.connection.behaviorSubjectObservable$.subscribe(online => {
    this.online = online;
    if (!this.online) {
      this.snackBar.open('You are offline!', 'OK', { duration: 5000 });
    } else {
      this.snackBar.dismiss();
      // upload from LocalStorage
      const items = { ...localStorage };
      const keys = Object.keys(items);
      const uploadKeys = keys.filter(key => key.includes('capture@'));
      uploadKeys.forEach(uploadKey => {
        this.snackBar.open(`Uploading photo taken at ${formatDate(uploadKey.split('@')[1], 'yyyy-MM-dd hh:mm:ss', 'en-GB')}`, 'OK', { duration: 5000 });
        const photoToUpload = localStorage.getItem(uploadKey);
        return this.http.post(`https://api.cloudinary.com/v1_1/${environment.cloudName}/image/upload`, {
          file: photoToUpload,
          upload_preset: environment.uploadPreset
        }).subscribe((response: any) => {
          if (response) {
            localStorage.removeItem(uploadKey);
            return this.captureCollectionRef.add({
              public_id: response.public_id,
              uploaded: new Date().getTime()
            }).then(() => {
              this.router.navigateByUrl('/');
            });
          }
        });
      });
    }
  });
}
We iterate through localStorage, find entries where the key includes capture@, upload those images to Cloudinary, add an entry to Firebase, and delete the localStorage entry.
Realtime but offline?
We’ve got all the functionality in place, but there’s one more thing to address.
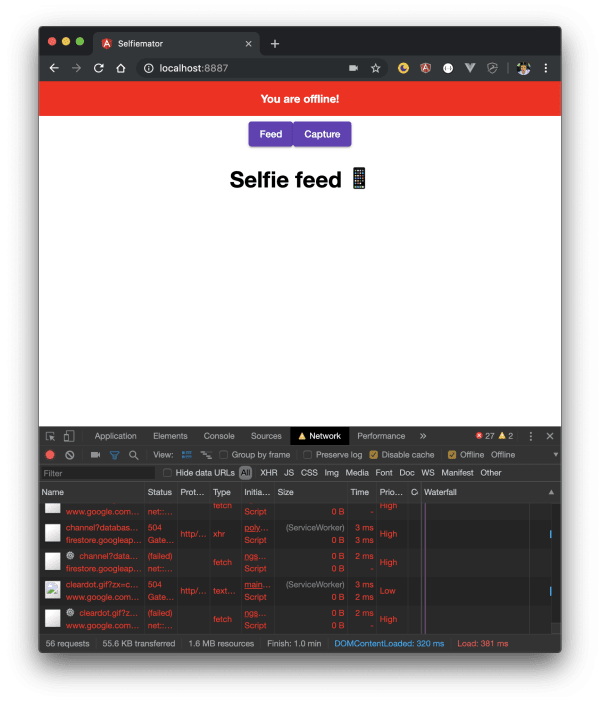
Firebase gives us a real-time feed of uploaded photos. But when the app goes offline, nothing displays and the browser console fills with errors. That’s expected: the app is offline, yet it’s still trying to reach the Firebase database to watch for incoming images.
The fix? Persistence mode. Firebase lets us access data while offline through its offline data persistence feature. To enable it, we make one small change in app.module.ts and call enablePersistence():
@NgModule({
// ... removed code for brevity
imports: [
AngularFirestoreModule.enablePersistence(),
]
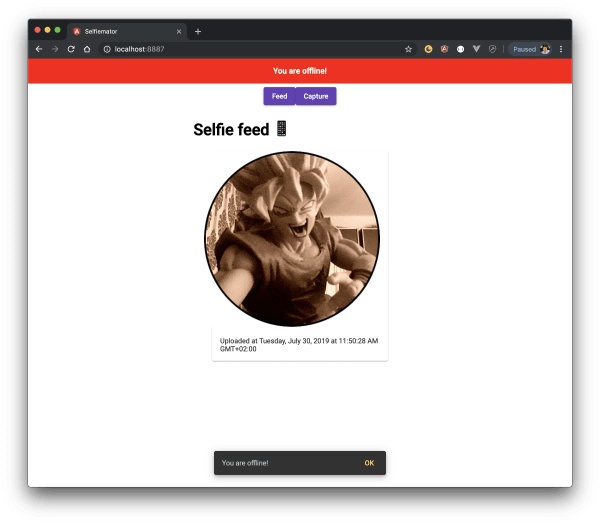
})That’s it. Now images load even when we’re offline.
Conclusion
Hopefully this tutorial has given you a better understanding of how to build Progressive Web Applications using Angular and Firebase. Combining these tools with support from other APIs (Cloudinary in our case) opens the door to building genuinely capable PWAs.