Writing
Creating an Automated Social Share Card Using Cloudinary and Eleventy
We’ll build an automated social share card using Cloudinary. The approach works for plenty of use cases, but we’re focusing on blog posts here.
Social Share Card
Let’s get clear on what a social share card actually is.
You’ve seen them before. Someone sends you a link via iMessage, or you post something on Twitter, and a small image pops up alongside some text containing info about the post.
That image appearing is often called link unfurling, powered by a curious segment of browsers called “microbrowsers.” There are specific performance implications and best practices for microbrowsers (we won’t cover those here), but I’d recommend reading Link Unfurling Engines: Quality, Flavor and Brewing Techniques by Colin Bendell.
Open Graph
Open Graph is an internet protocol created by Facebook. It lets websites expose metadata in a standardised way, so webpages can represent content as structured data.
We can grab that exposed content and use it for social sharing. Facebook, Twitter, LinkedIn and other sharing mechanisms (including iMessage, WhatsApp etc.) all render their displays based on Open Graph metadata.
Basic Open Graph elements
Open Graph lives in HTML via <meta> elements. The four main options are og:title, og:image, og:url and og:description. Here’s what that looks like:
<meta property="og:title" content="Title of Article" />
<meta property="og:description" content="Some description" />
<meta property="og:image" content="my-image.jpg" />
<meta property="og:url" content="https://test.com" />
The above would yield the following result:

Preview the social share card
There are several ways to test how the social share card looks. Facebook and Twitter both have their own debug tools, and there’s also Social Share Preview which works with multiple social networks.
Further customisation
Some social networks (Twitter specifically) have extra options via twitter:card, which can take values including summary, summary_large_image and others. The difference between summary and summary_large_image is shown below.
 Summary card
 Summary Large Image
There are scenarios where the summary card does the job. But the summary large image option has its place too. Looking at the two screenshots above, you can see I use both on my blog. For individual posts, I’ve got a larger, more descriptive card. For every other page, I just show the site logo.
Automating social sharing via Cloudinary
Social sharing cards pull their weight. But creating one for every blog post by hand would be tedious. The good news: we can automate the whole thing with Cloudinary. I’ll demonstrate using 11ty here, but you could use any language or framework to achieve the same result.
Create a base image
First, create a base image. Mine looks like this:
https://res.cloudinary.com/full-stack-training/image/upload/v1618949332/share-card.png
All you need is an image editor. Use your imagination and shape the image to fit your needs. If you don’t have access to Photoshop, try Pixlr which is free.
Image size
Social sharing cards need specific image dimensions. At the time of writing, that’s 1200 x 675 pixels. Make sure the base image hits this size or has a 16:9 aspect ratio. (I used 1200 x 630, which works just fine too.)
Once your base image is ready, upload it to Cloudinary and copy the access URL.
Text Layers
Cloudinary supports text overlays, meaning we can slap any text on top of an existing image. The text overlay uses Google Fonts behind the scenes, so any font face available there can be used. We can also customise font size, weight and colour.
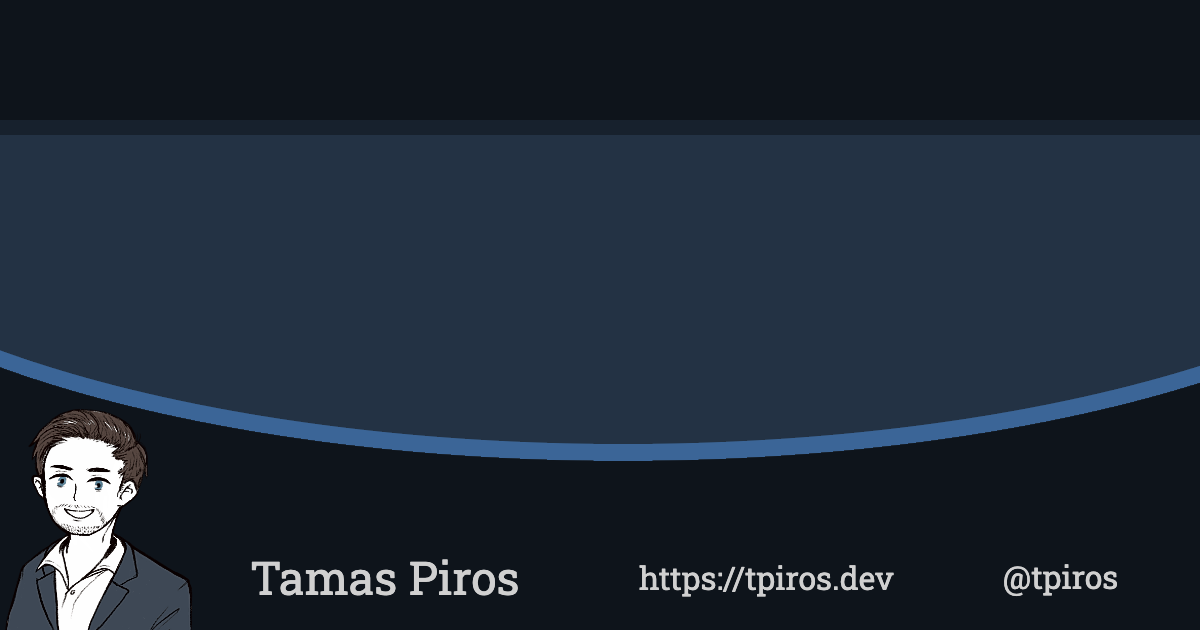
We apply the text overlay using the l_ flag in Cloudinary (l for layer) by updating the access URL for the base image: https://res.cloudinary.com/full-stack-training/image/upload/w_1200,h_630,c_fit,q_auto,f_auto/w_1000,c_fit,co_rgb:eee,g_west,x_120,y_-60,l_text:Roboto_70_line_spacing_-10_semibold:Hello World this is my blog post title/v1618935929/share-card.png
What’s happening in that URL? First, we’re resizing the entire image to 1200 x 630 pixels and applying q_auto and f_auto. Those two flags heavily optimise our image.
The next section is w_1000,c_fit,co_rgb:eee,g_west,x_120,y_-60,l_text:Roboto_70_line_spacing_-10_semibold:Hello World this is my blog post title. Notice it’s separated by / in the URL, which signals a new transformation set. The new transformation equals a new layer: 1000 pixels wide, positioned at 120 on the x axis and -60 on the y axis. The settings are clear: Roboto, size 70, -10 line spacing, semibold font-weight, followed by sample text in colour eee (grey).
Putting it all together gives us the image below.

Open Graph via 11ty
11ty has a solid plugin system, and one of the available plugins is metagen, a <meta> element generator.
Setting up the plugin is quick. Just follow the steps on the npm repository. Once it’s configured, we can generate social sharing cards with ease:
{% raw %}
{% set sanitisedTitle = title | sanitise %}
{% set image = 'https://res.cloudinary.com/full-stack-training/image/upload/w_1200,h_630,c_fit,q_auto,f_auto/w_1000,c_fit,co_rgb:eee,g_west,x_120,y_-60,l_text:Roboto_70_line_spacing_-10_semibold:' + sanitisedTitle + '/v1618935929/share-card.png' %}
{% metagen
    name = name,
    title = title + ' by ' + author,
    desc = excerpt,
    twitter_card_type = "summary_large_image",
    url = url + page.url,
    twitterHandle = twitter,
    img = image
%}
{% endraw %}
Note the sanitise pipe operation. It’s a simple filter added to .eleventy.js to let special characters appear in the URL. For example, if the blog post title contains a /, that would kick off a new transformation in Cloudinary and break the URL. To prevent that, we need both escape and encodeURIComponent in the sanitise filter:
eleventyConfig.addFilter('sanitise', (value) ==> {
return escape(encodeURIComponent(value));
});
With all of this in place, we’ve now got an automated pipeline that generates social share cards from blog post titles.
A plugin for Eleventy
Building on everything above, I’ve released a plugin for 11ty that handles automatic creation of social share cards. Check the repository for configuration options. The plugin builds the final URL (as we’ve discussed here) and allows heavy customisation via changeable parameters.
Conclusion
Social share cards deliver real value when sharing content via microbrowsers like Twitter, Facebook, WhatsApp and others. Creating them by hand is slow and tedious. But with a service like Cloudinary, the whole process collapses into a tidy automation.